Full Scan
Full scan performs a deep scan on your web application. It checks all the pages of the target web application, detects complex login mechanisms, and scans the pages behind the authorization for vulnerabilities. This scan is highly recommended for your website.
How to use?
- Choose "Full Scan" from the left navigation bar.
- Enter the URL that you want to scan.
- Choose the browser of your choice from the list.
- You can also choose the Any Browser(Manual Configuration) to connect the browser with manual configuration. Choosing this option will not open any browser. It will only open the proxy port.
- Enter the PORT and click on
Launch - After the browser is launched, crawl all the pages of the website and interact with all input of the pages.

Scanning
To start the scan, follow these steps:
- After the crawling of pages is done, right-click on the left tree node (on your host) and click
Scan. - With the click of the scan, you will get a pop-up window; fill out all of the fields.
- Scan Configuration
- Crawler
- Authentication
- CSRF token generation
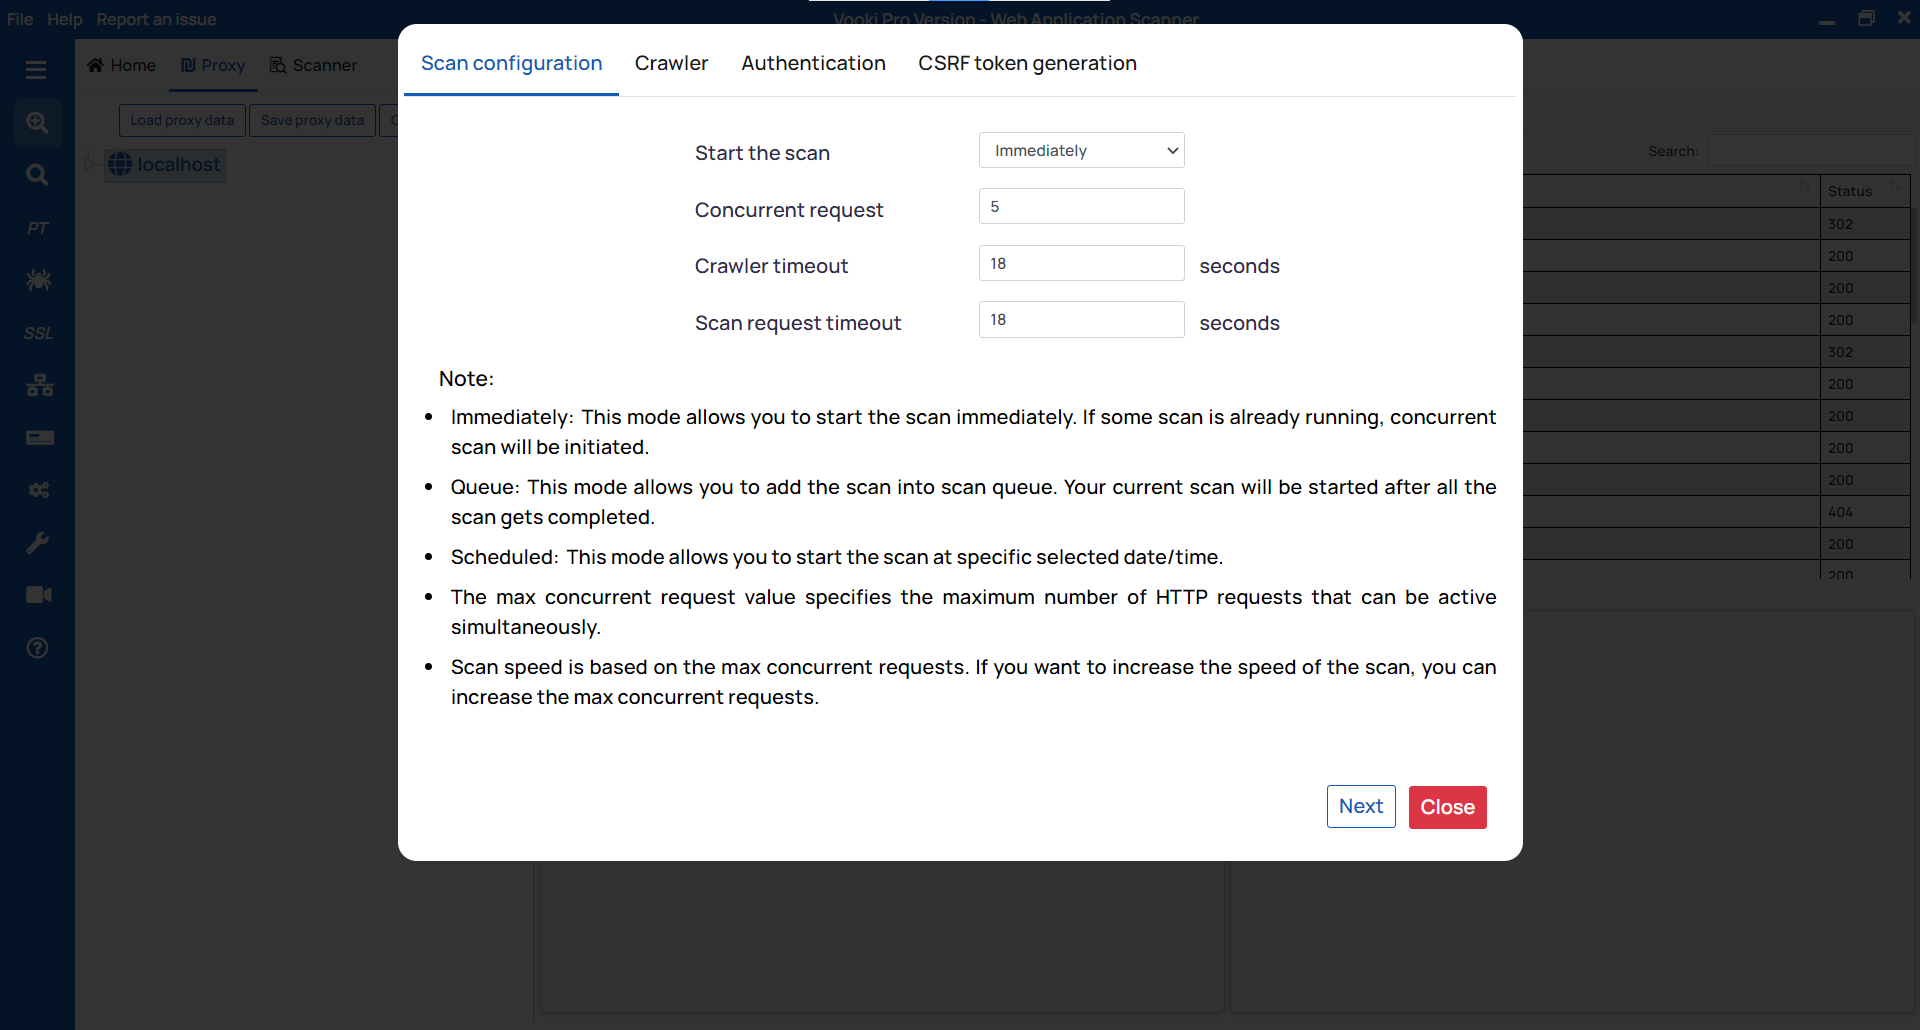
Scan Configuration: Concurrent Request allows you to send the number of parallel requests; Web Crawler Timeout allows you to set the timeout for the crawling request; Scan Request Timeout allows you to set the timeout for the scan.
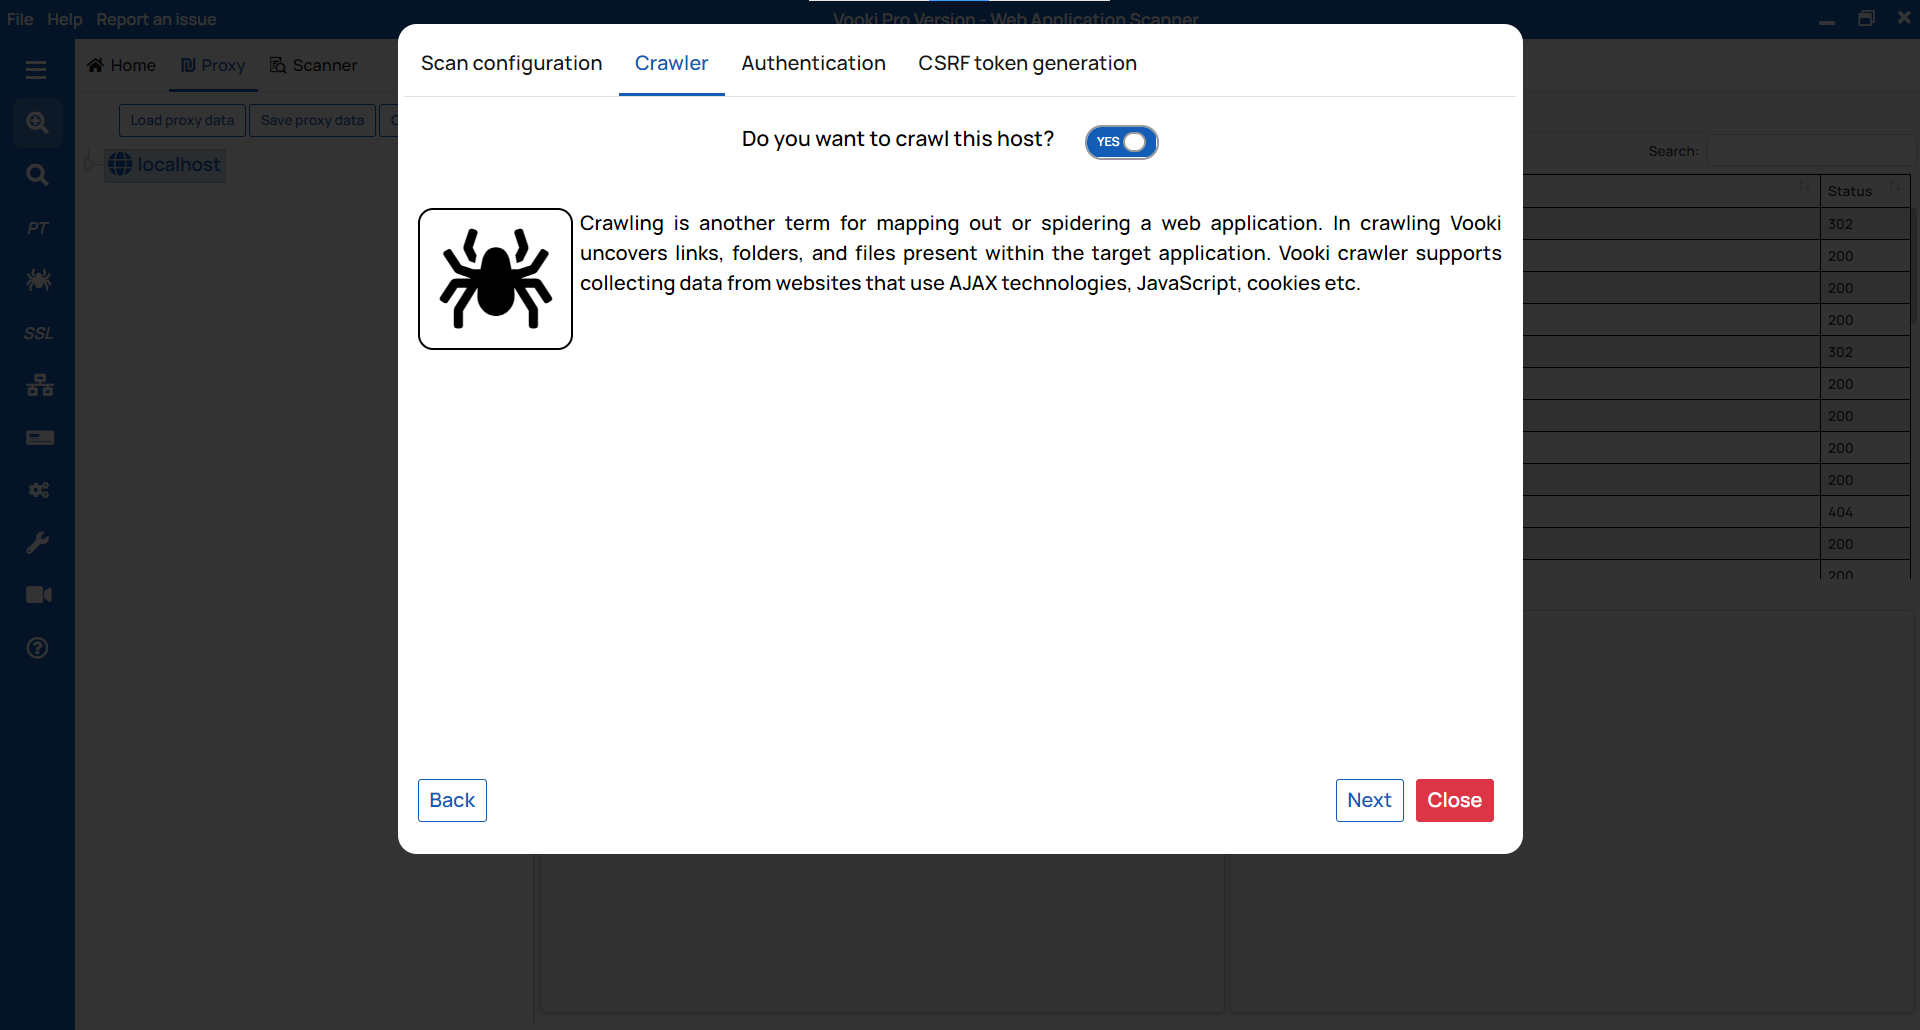
Crawler: If you click on yes, then it will start crawling the website. Our crawling mechanism performs in-depth scanning of your website. You can identify the webpages exposed on the website.
Authentication: For authentication, we have several modes, which are as follows:
- Fetch session cookie from proxy.
- Manually enter session cookie.
- Simple form authentication.
- Complex authentication
CSRF token generation: This module is for bypassing the CSRF token. If the website you're scanning has a CSRF, enter the token key and value and click "Check & Save" before clicking Scan. If a CSRF check is not available, click on "
Skip & Scan."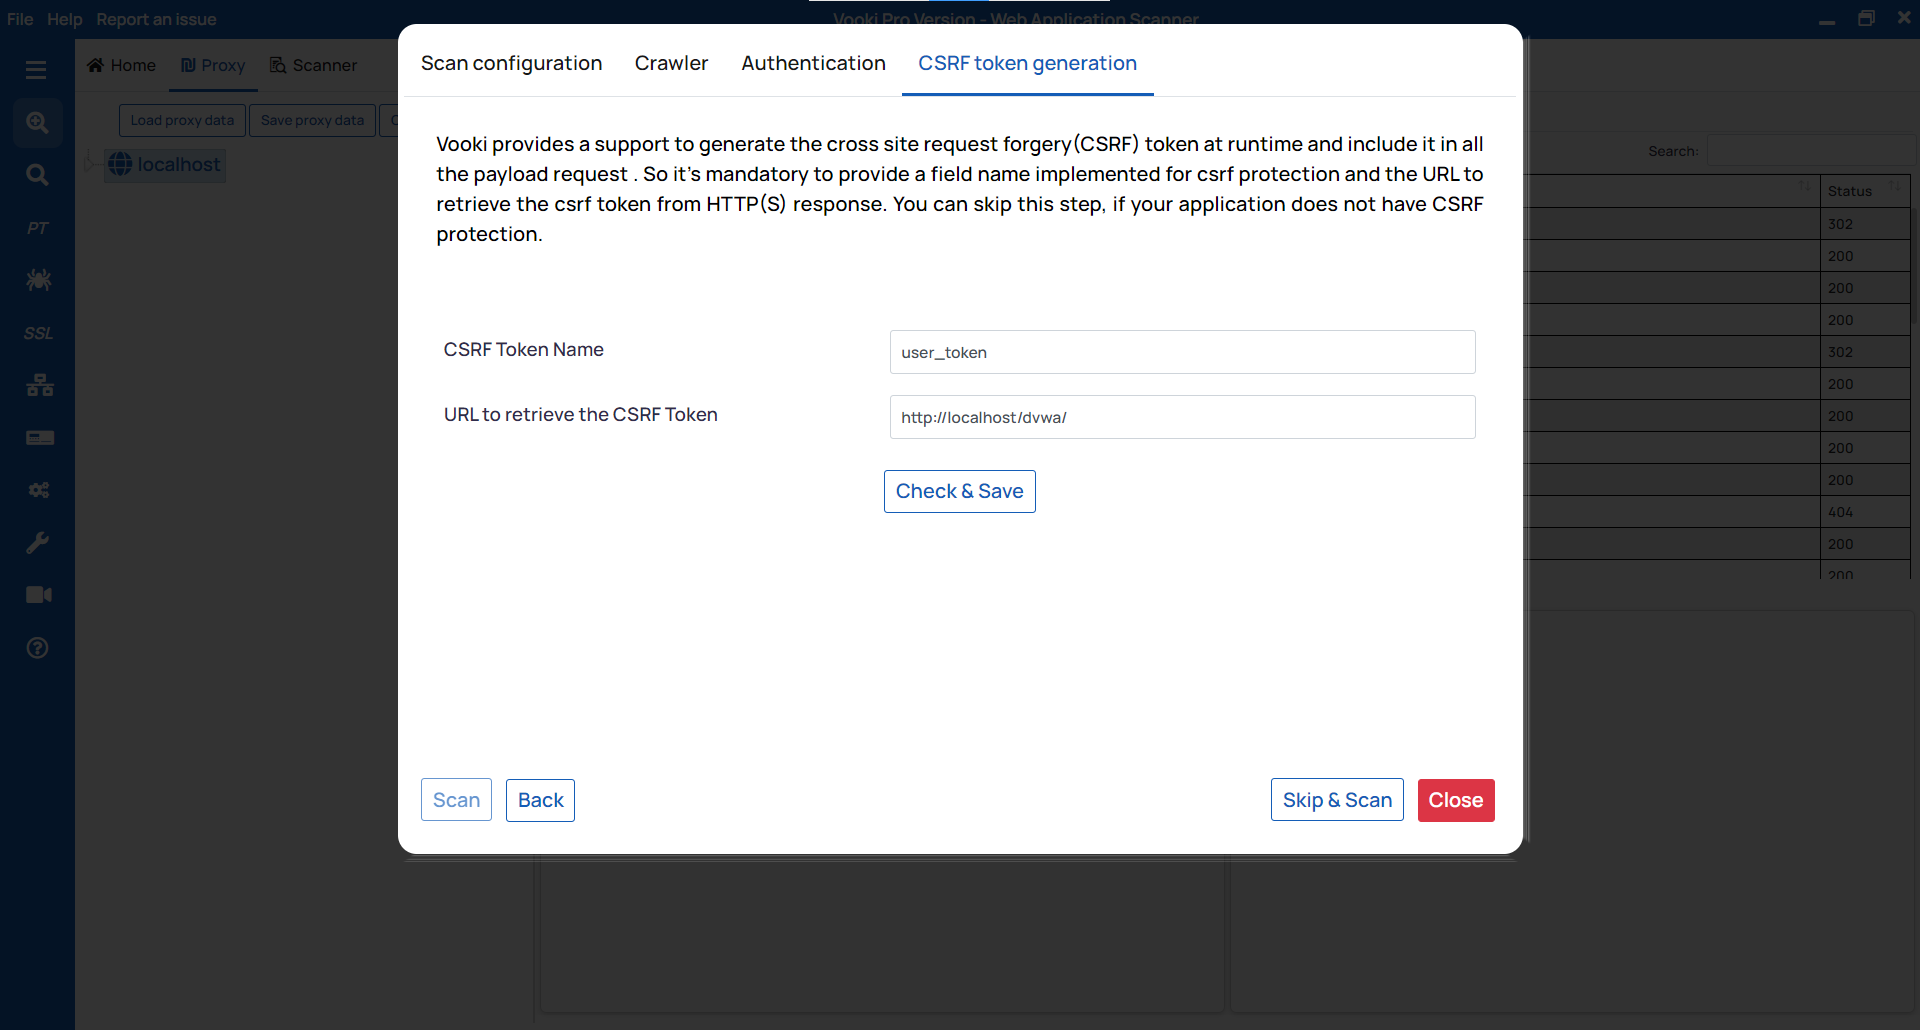
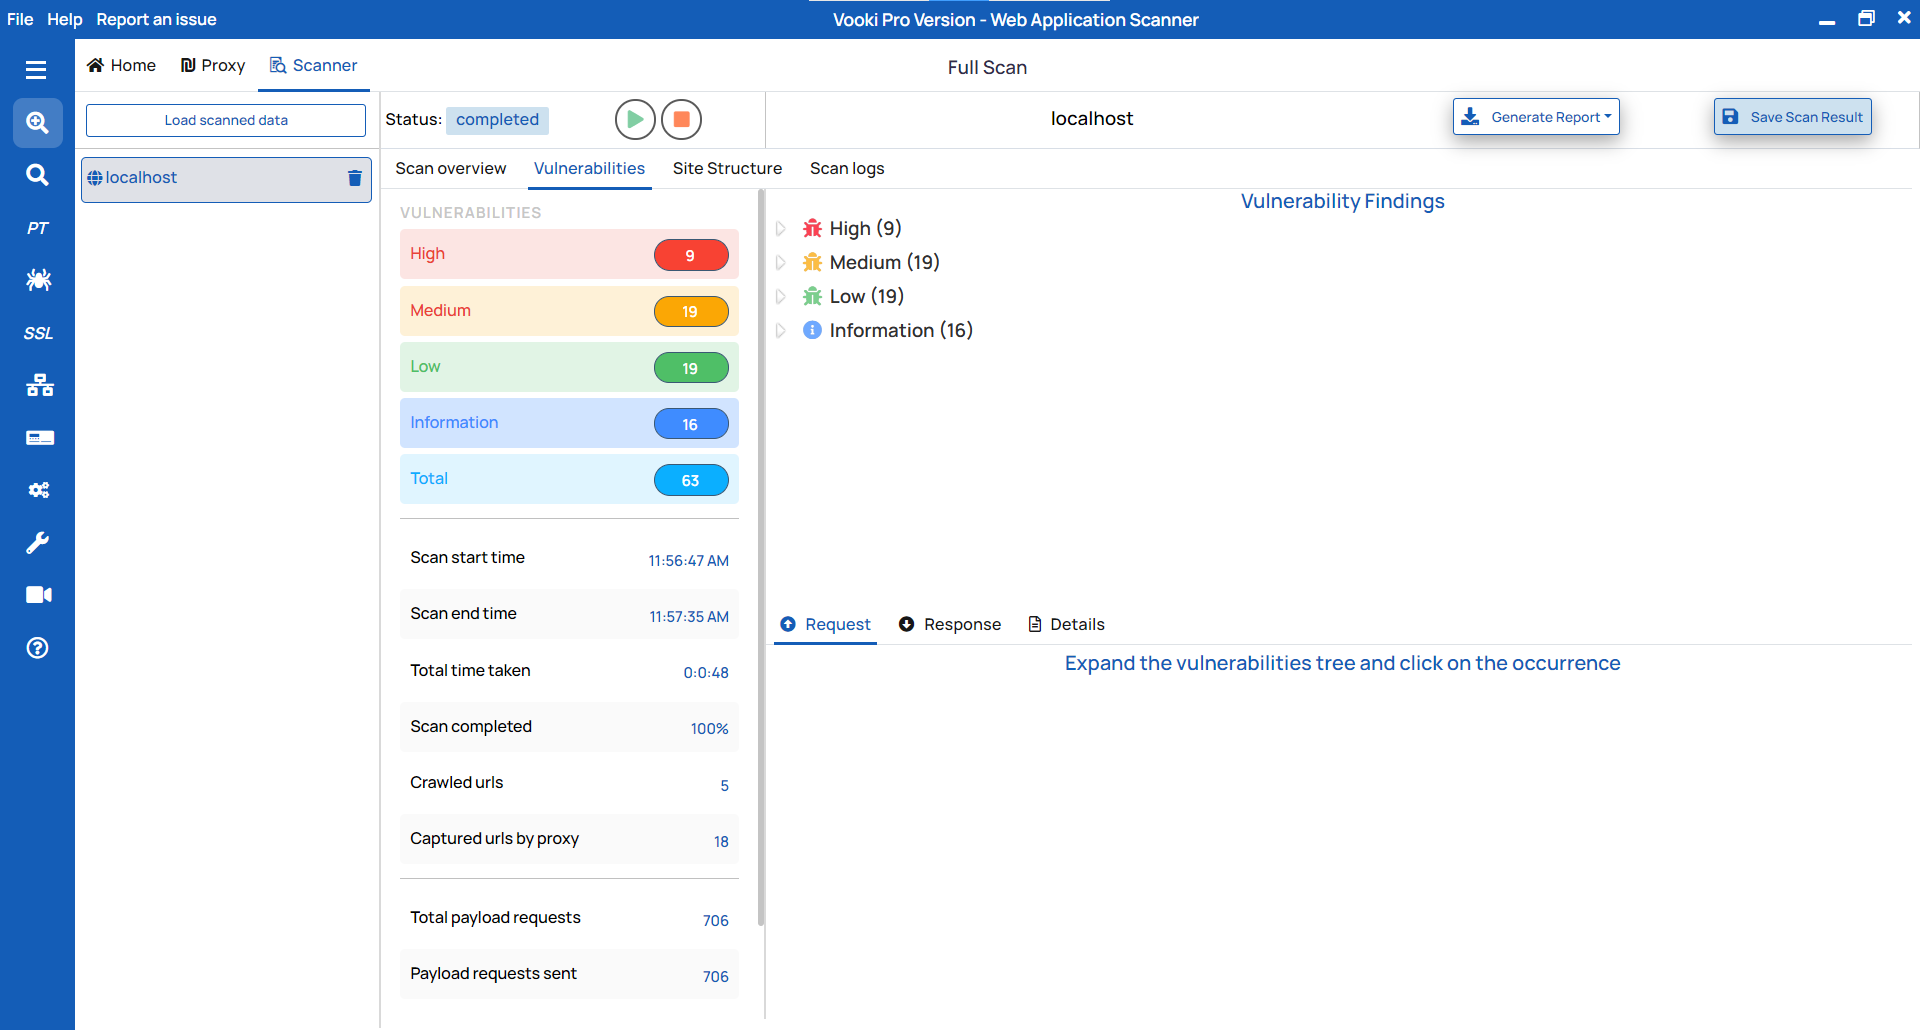
When the scan is finished, you can view the scanned app's full details in the scanner tab. You can generate the report and save the data externally.
Report Generation:
To generate the report, follow these steps:
- Click on "
Generate Report" in the scanner tab and choose the report type based on your needs. - This will generate the report in HTML/PDF format.
- Save the file in your preferred location.

Save externally
There are two options to save the scanned data externally. To save the scan data, follow these steps:
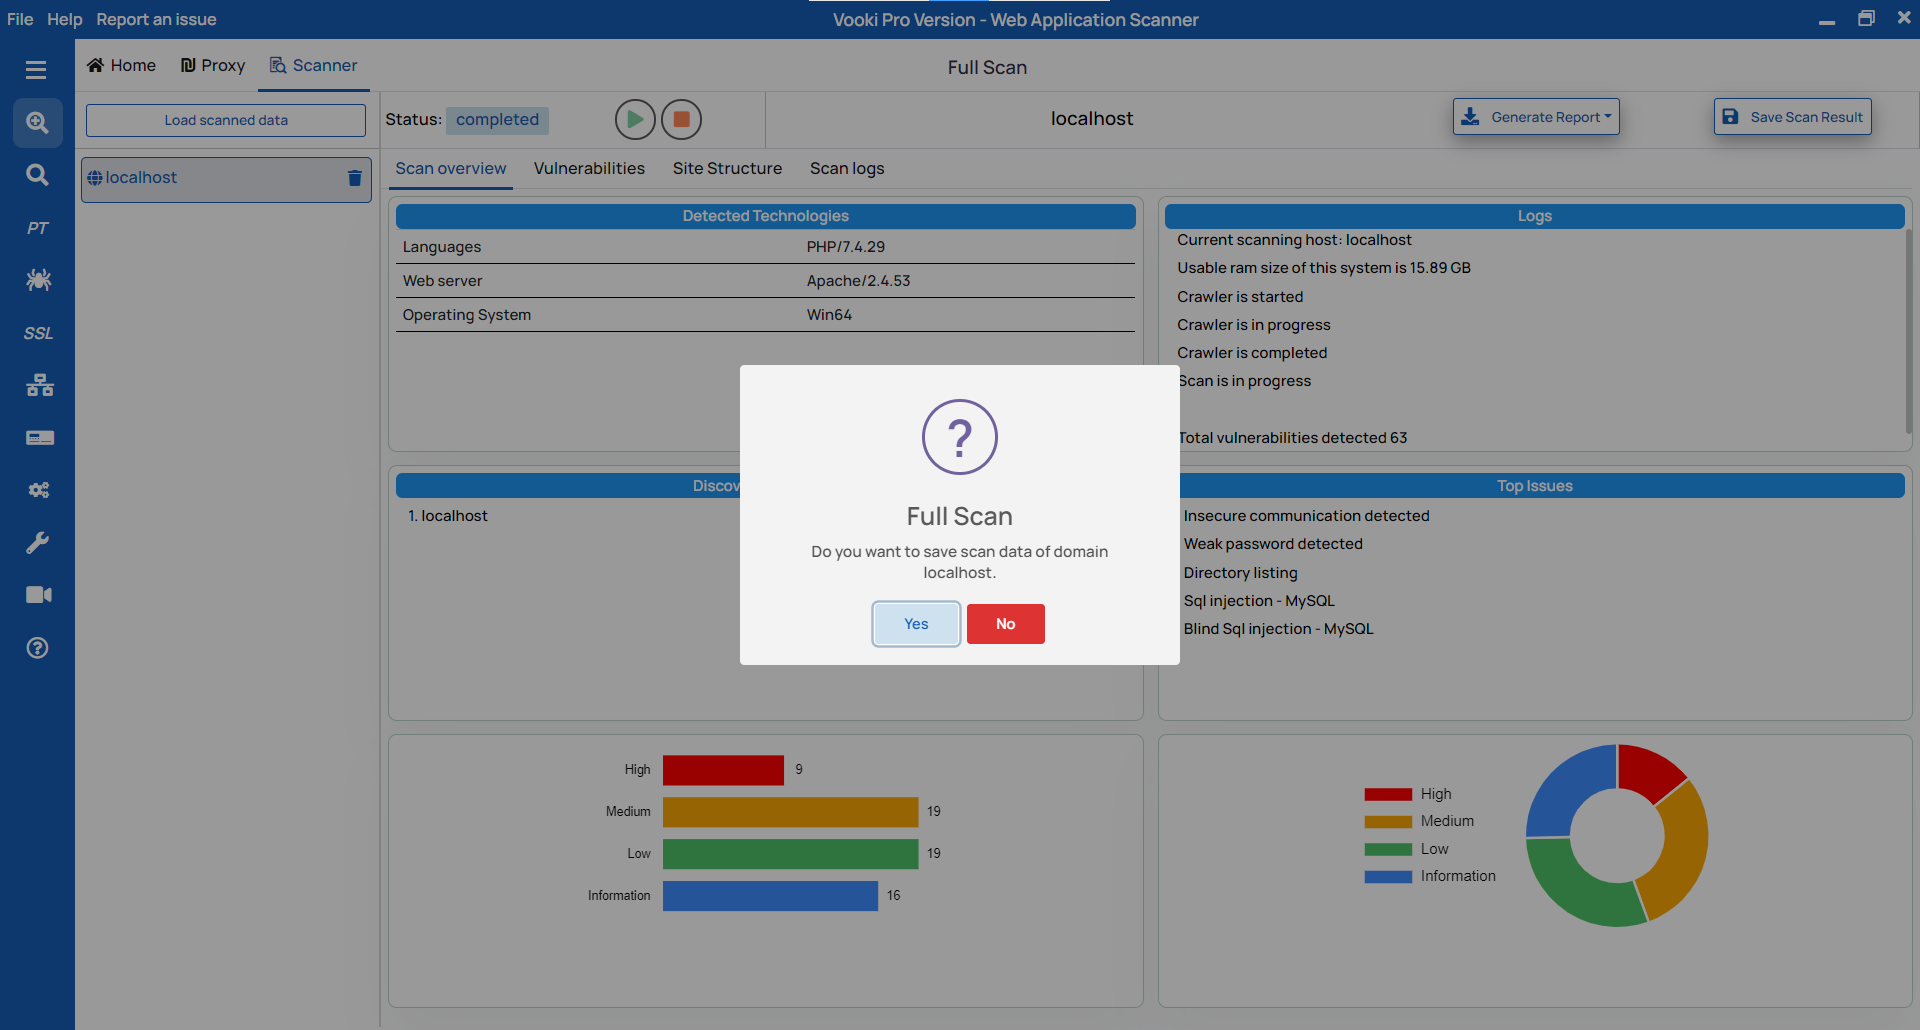
- After the completion of the scan, we get a notification to save the data. To save, click on "OK," choose the preferred location, and save the data.
- To save afterwards, right-click over the scanned host, click on "Save," and choose the preferred location.
Watch the video demo of How to use Full Scan
Related Articles
Basic Scan
The basic scan is good for websites that do not have authentication and static websites. This basic scan includes a crawler by default. So "Basic Scan" crawls first, collects the URLs from the website, starts the scan, and ultimately provides the ...Scan using Command Line
Generate scan commands using the user interface Generating the scan command is always a difficult task. To make this task easier, Vooki provides the user interface to generate the scan command based on your options. To generate the command, follow ...Domain & Host scanner
The Domain & Host scanner scans your entire website and gets various significant information about open ports, servers, DNS information, web archives, the geolocation of the server, and "Whois" data. How to use? Choose the Domain & Host Scan option ...How to perform security testing?
Security Testing is the process which validates whether the confidential data stays confidential, then ensures software systems and applications are free from any risks, threats, vulnerabilities that may cause a big loss and the users can perform ...How to use Vooki - Web Application Scanner ?
Vooki's web application security scanner is an automated tool to effectively scan and detect many underlying vulnerabilities in web applications in a few minutes. These vulnerabilities include not just the easier ones but the ones that require ...