Vooki REST export/import
Export Project
There are two ways to export the project. Follow these steps:
- Right-click the project and select "Export Project". This will export only selected projects.
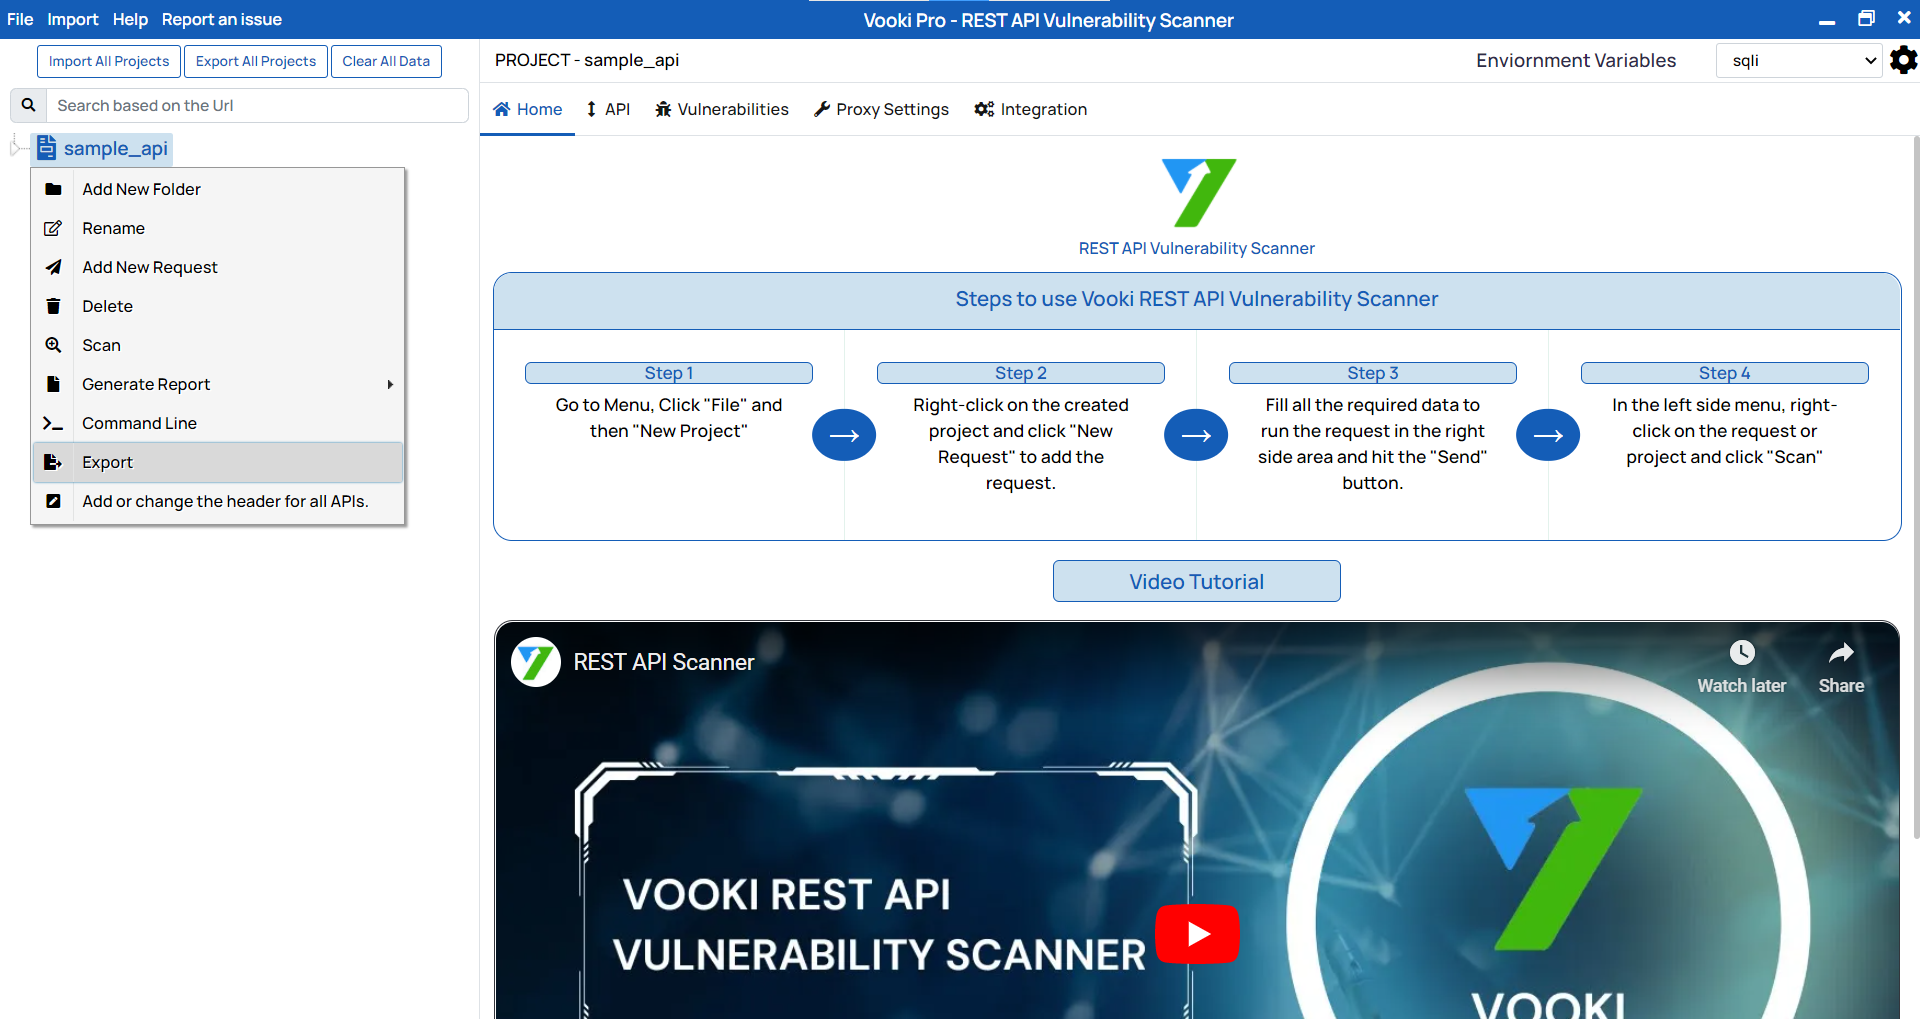
- Click on "Export All Projects" to export all projects.
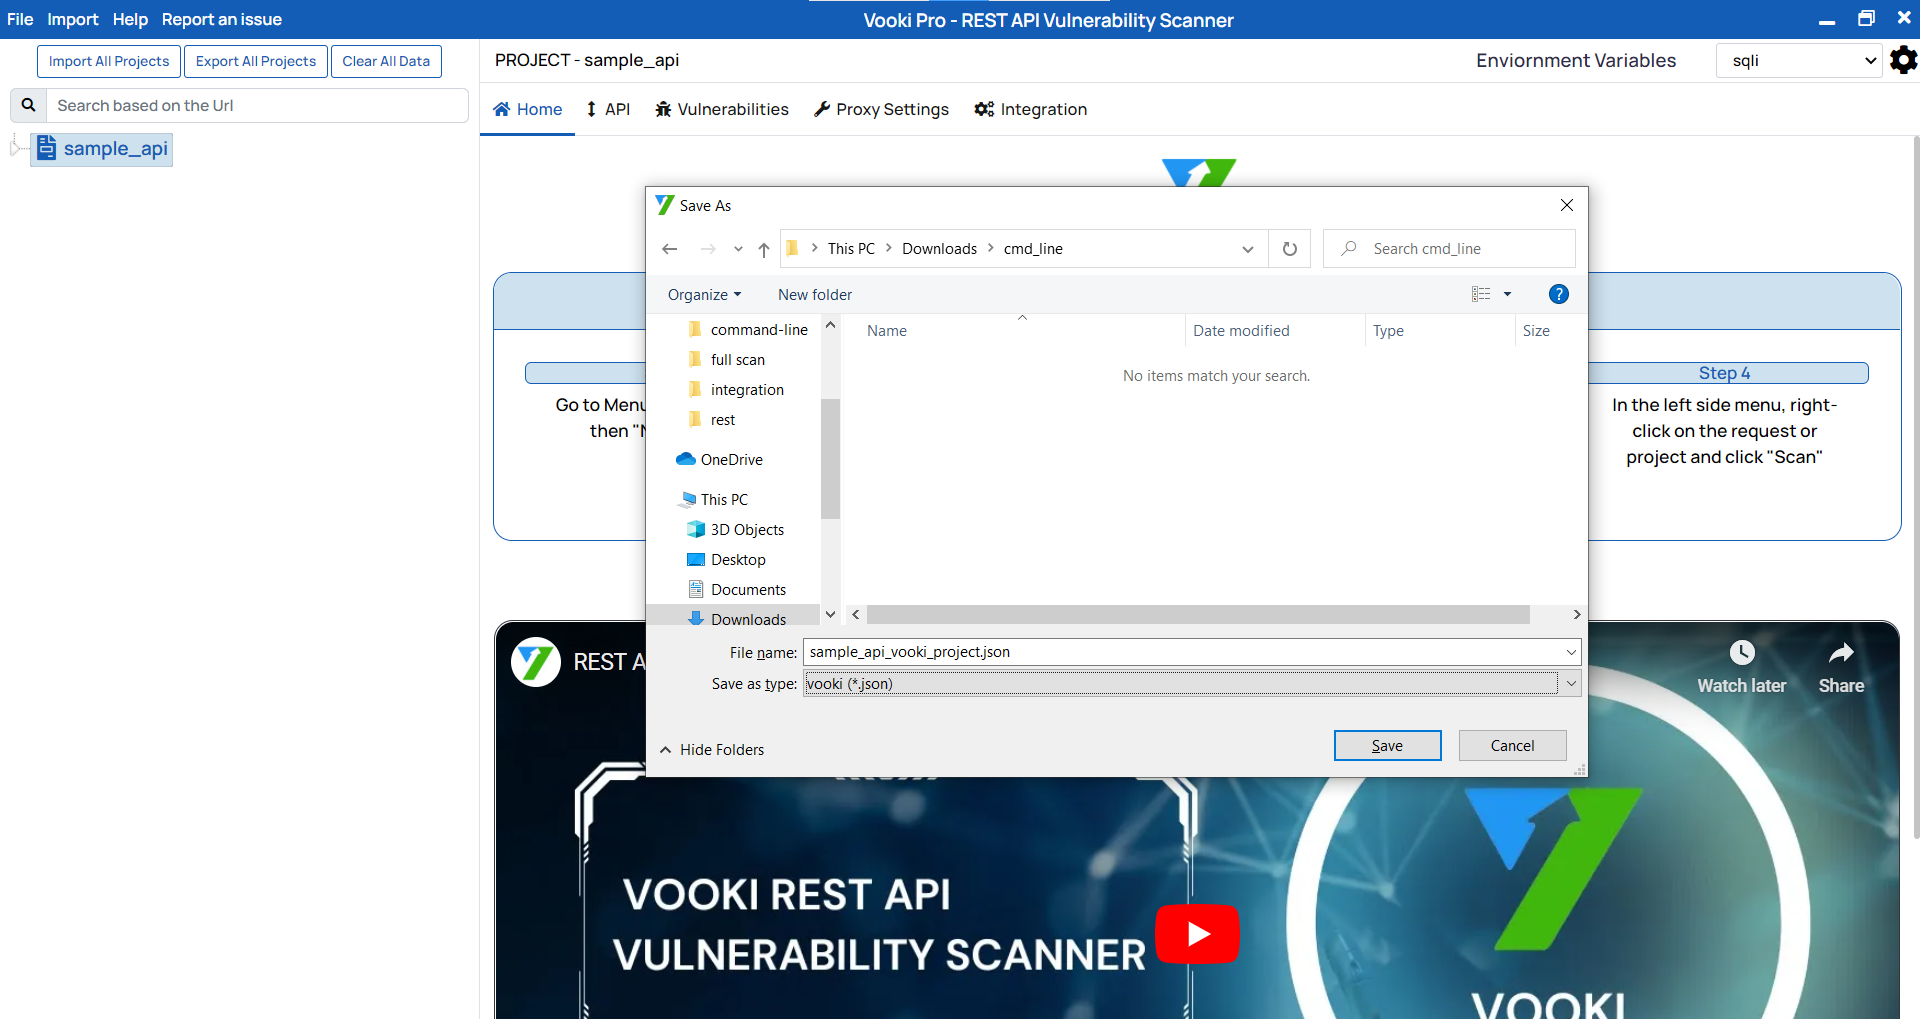
- Save it at the desired location.
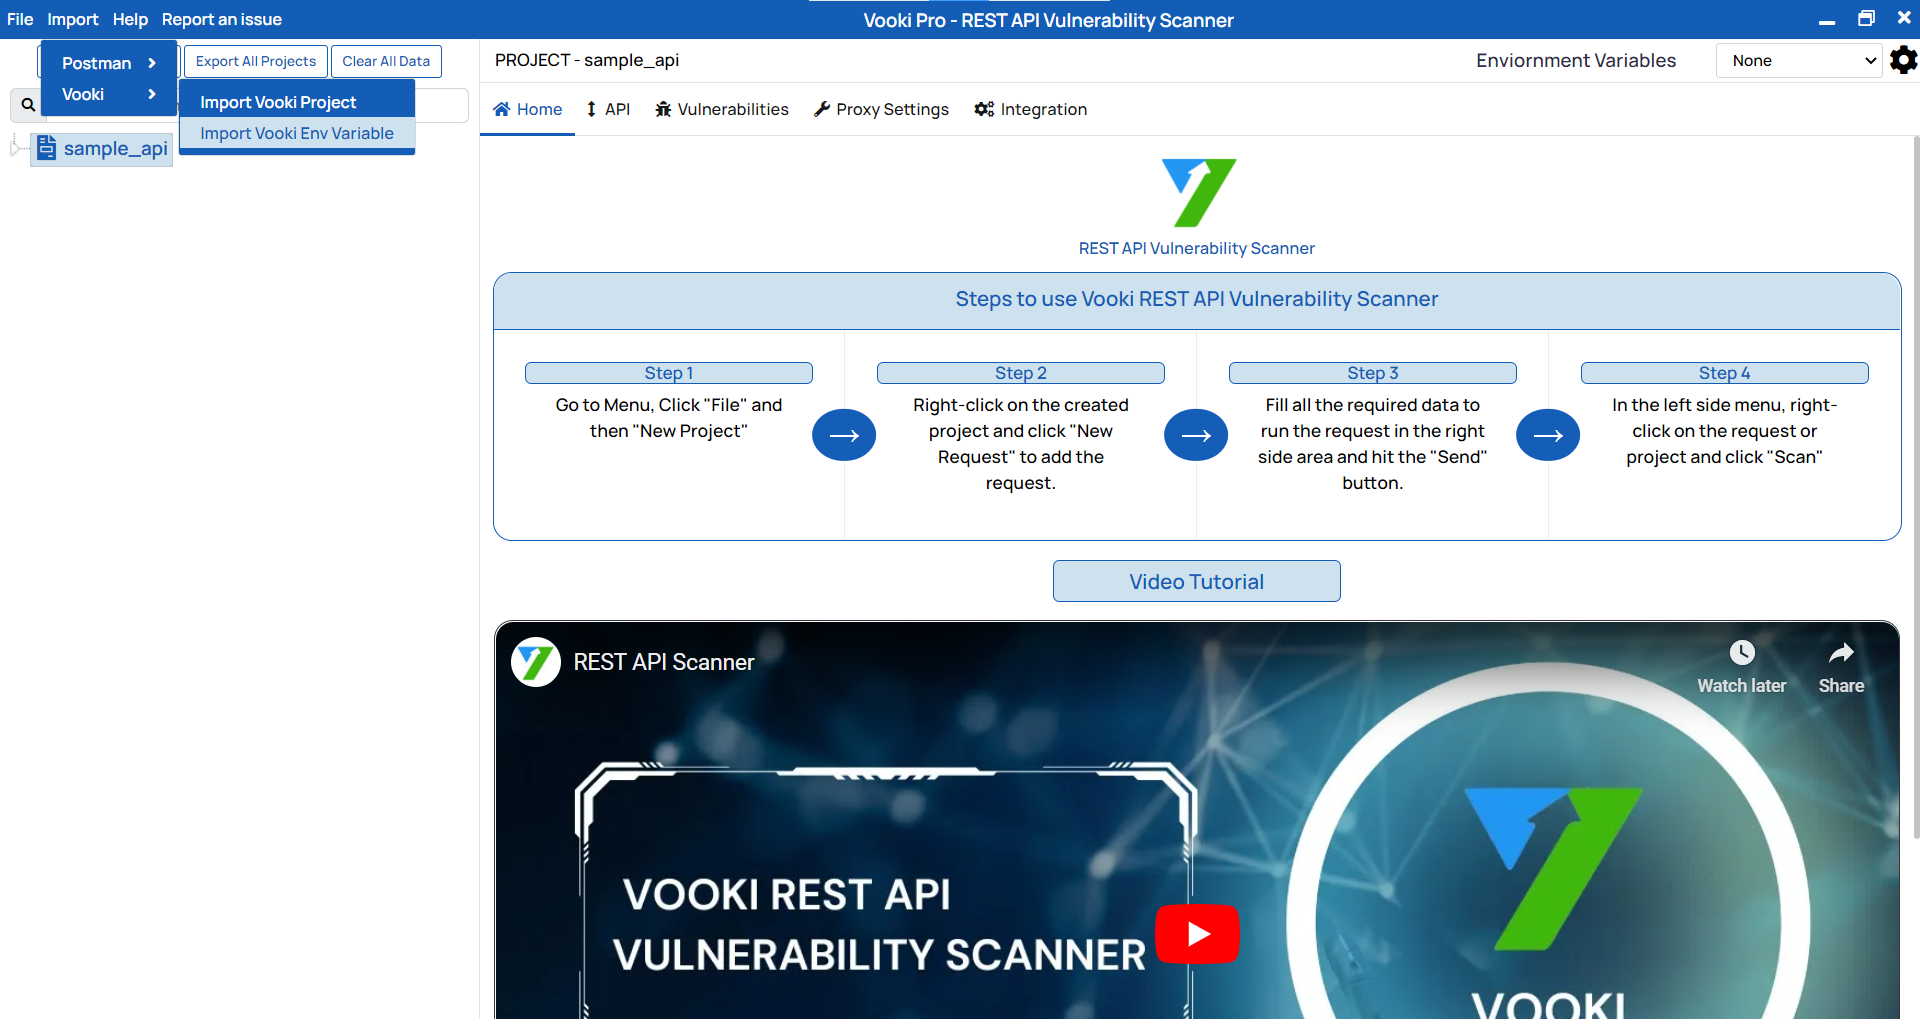
Import Project
There are two ways to import the project. Follow these steps:
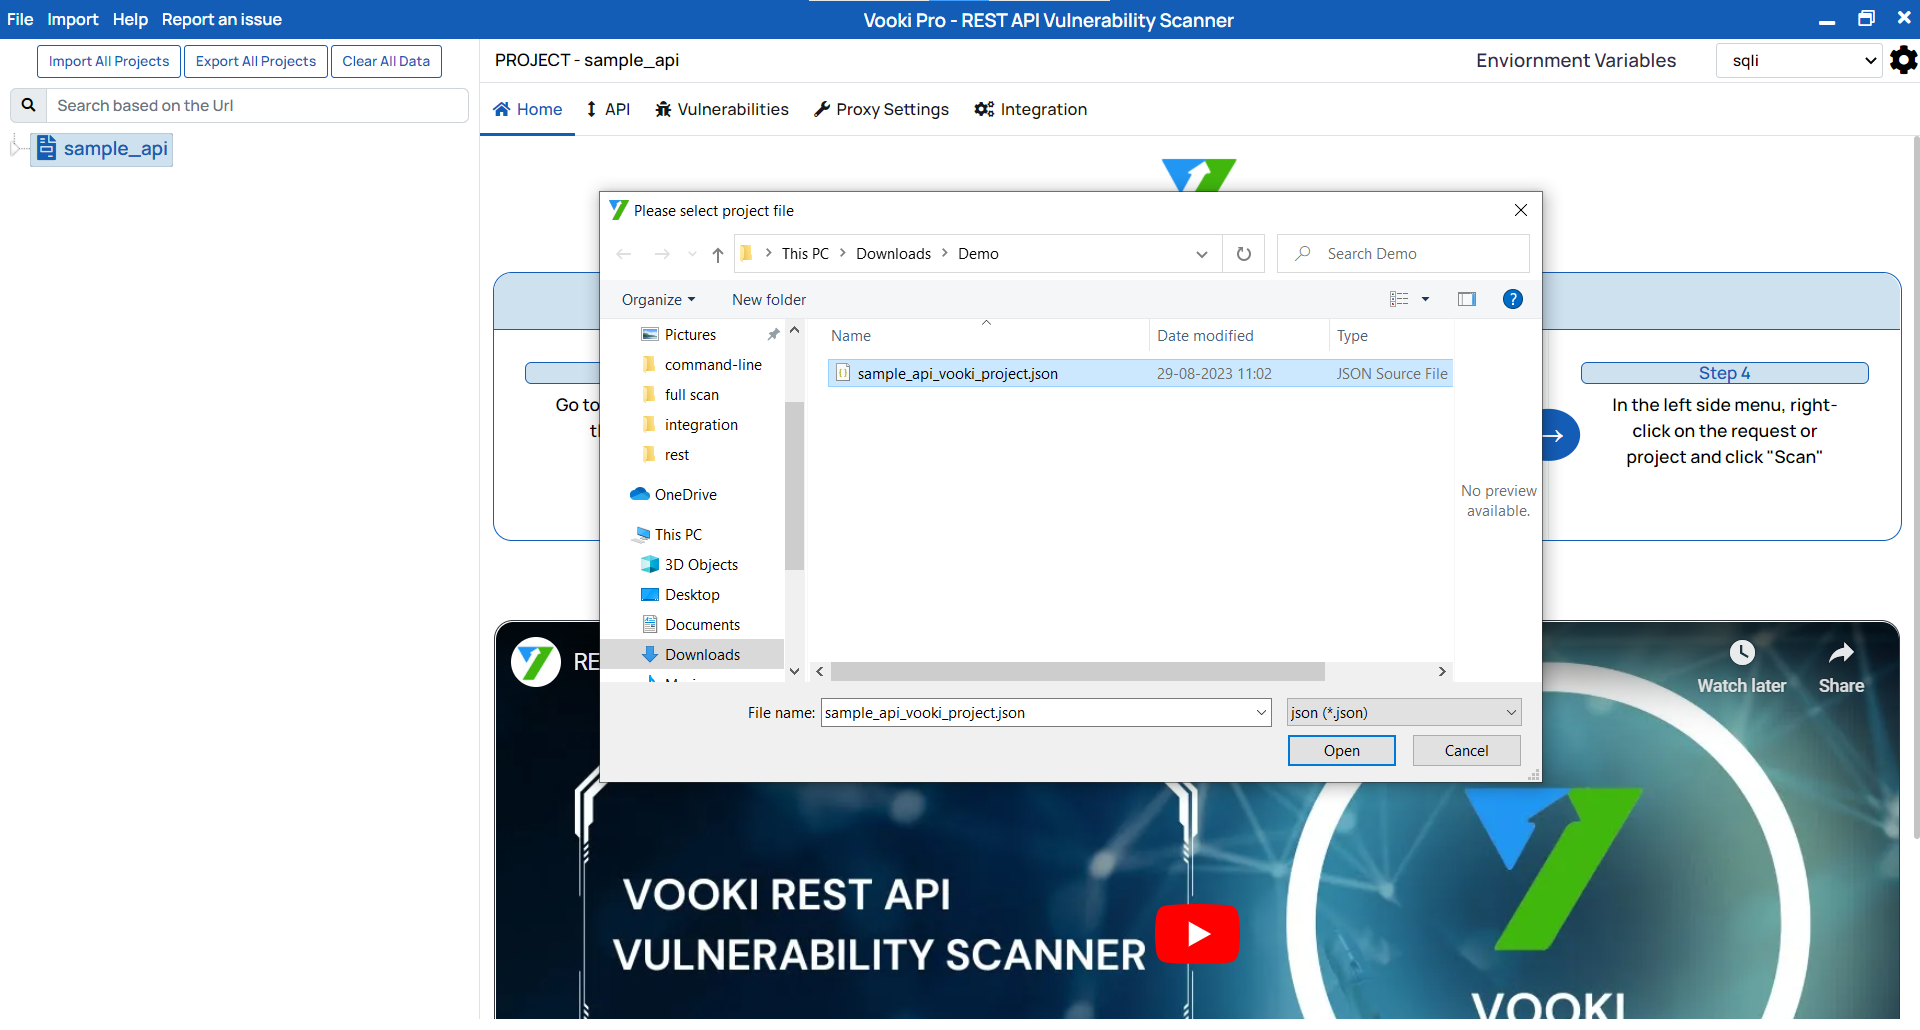
- Go to the main menu and click on "Import" and choose Vooki, then select "Import Vooki Project".
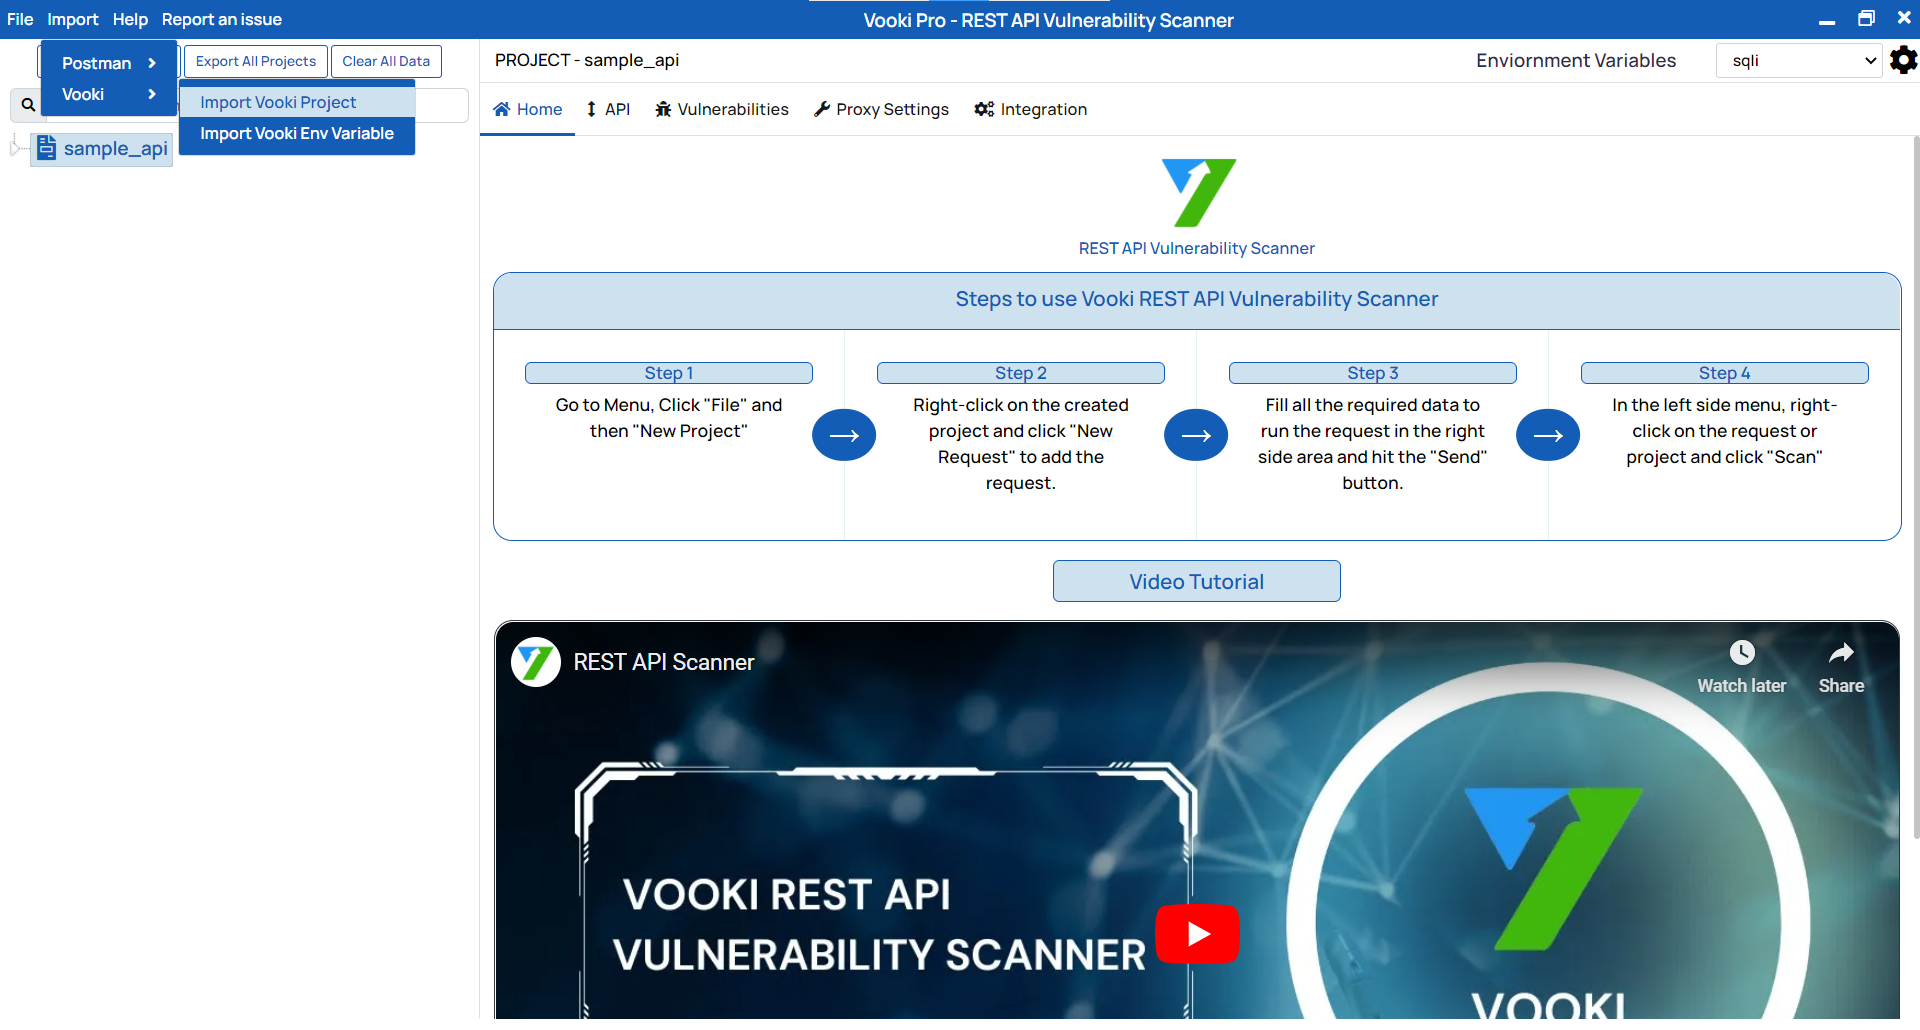
- Click on the "Import All Projects" button to import all projects.
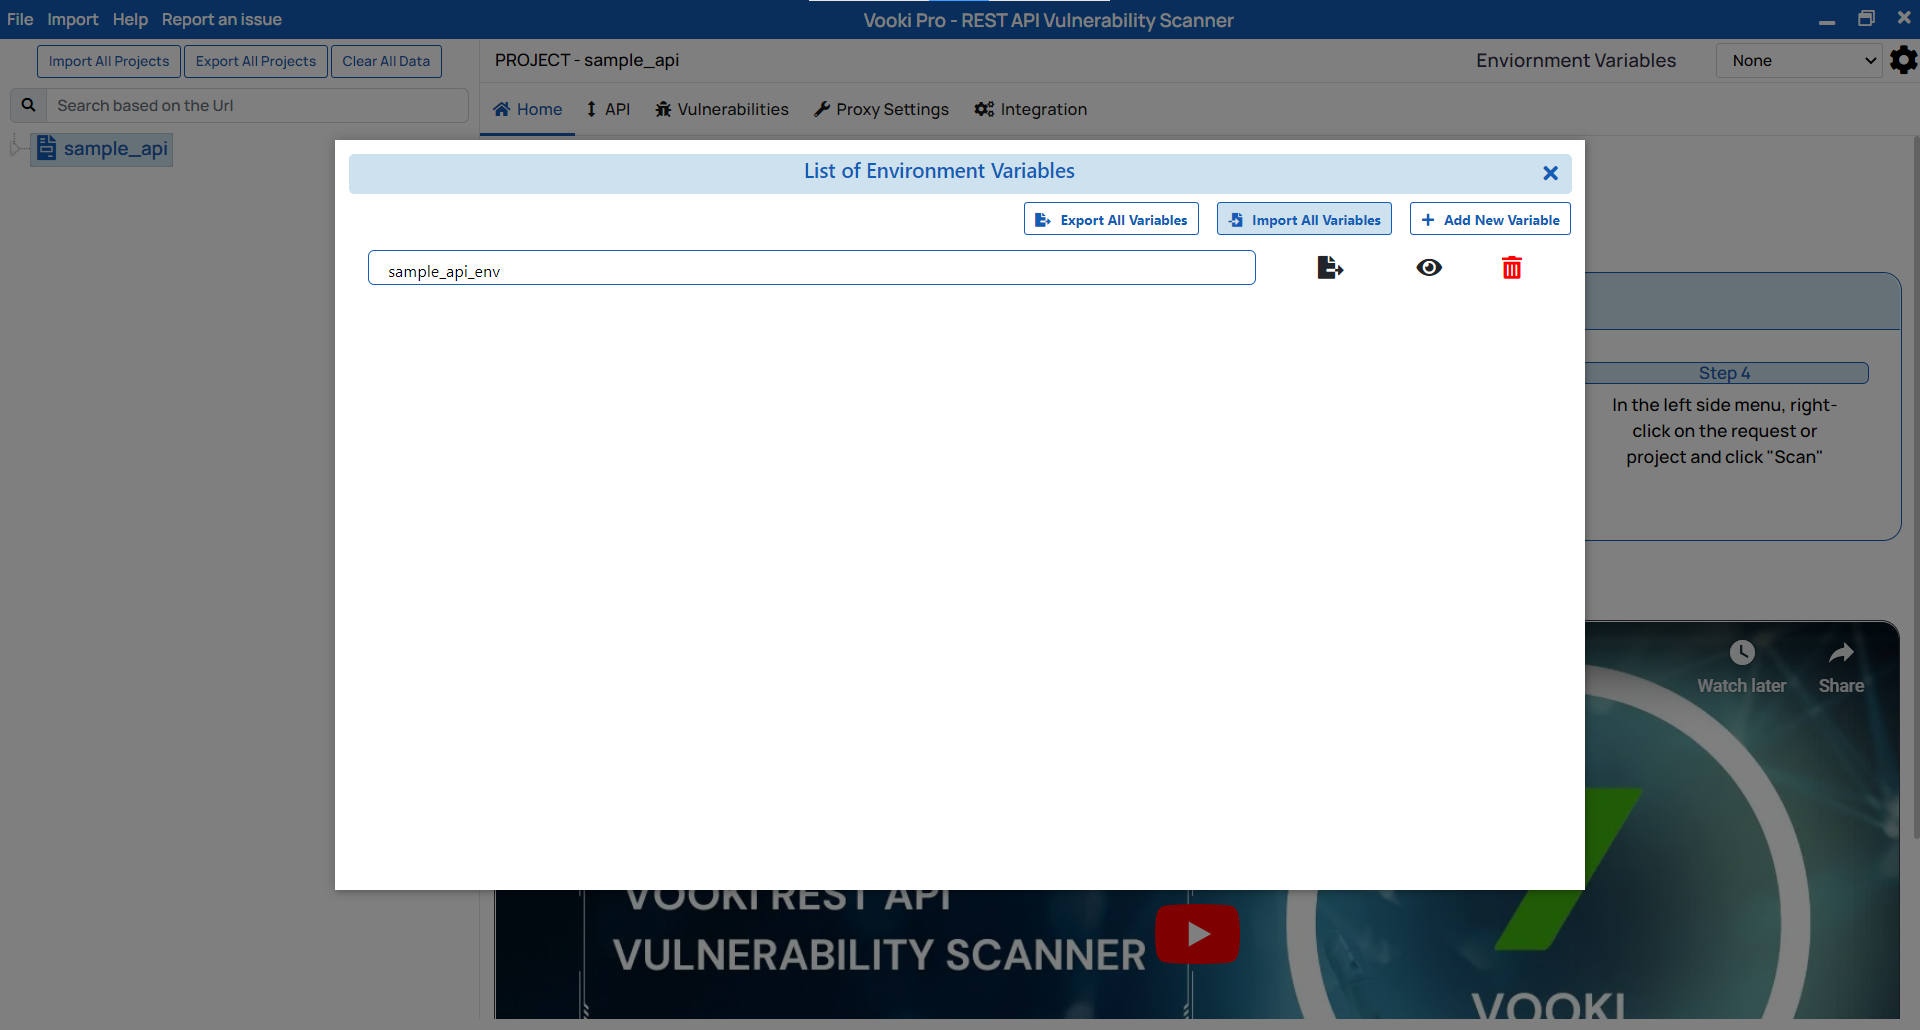
Export Vooki Environment Variable
To export the environment variable data, follow these steps:
- Look in the top right corner of the app and select the "Settings Button".
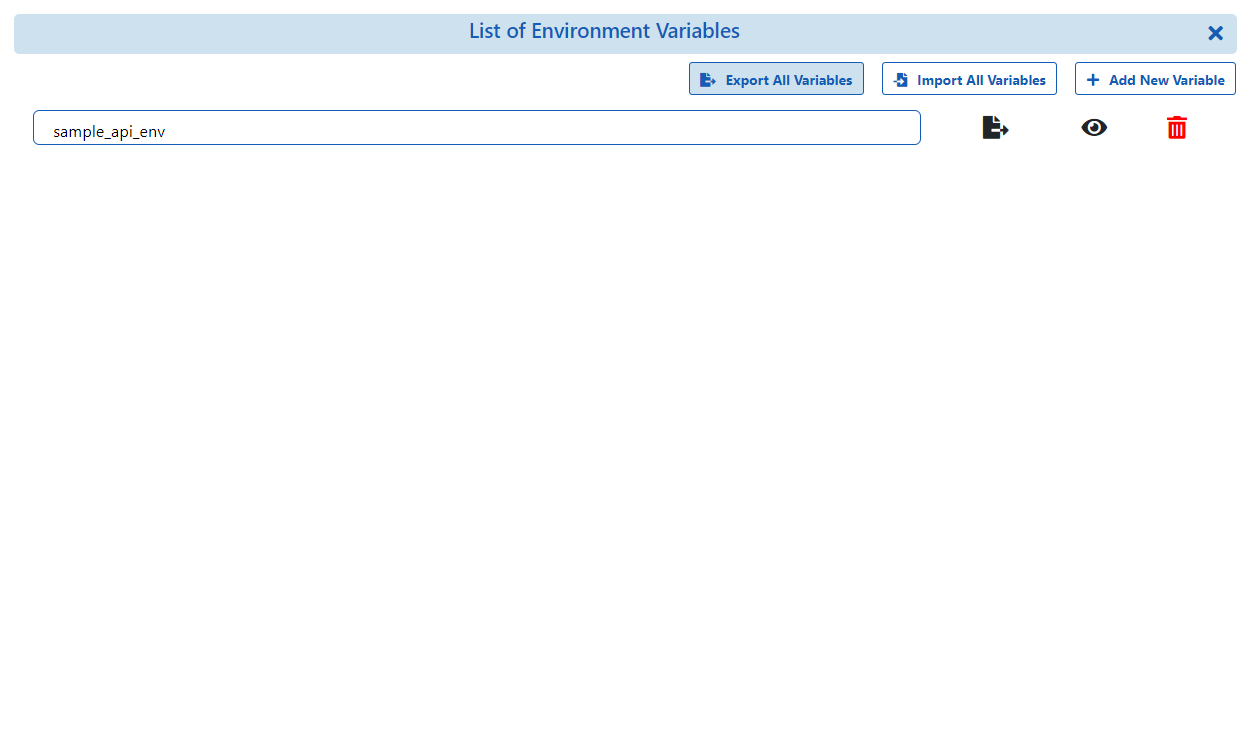
- Click on the "Export All Variables" button and save in the desired location.
Import Vooki Environment Variable
There are two ways to import the Vooki environment variable data. Follow these steps:
- Look in the app's upper right corner and select "Settings Button". Then, click on "Import All Variables."
- Go to the main menu and click on "Import". Choose Vooki, then select Import Vooki Env Variable.
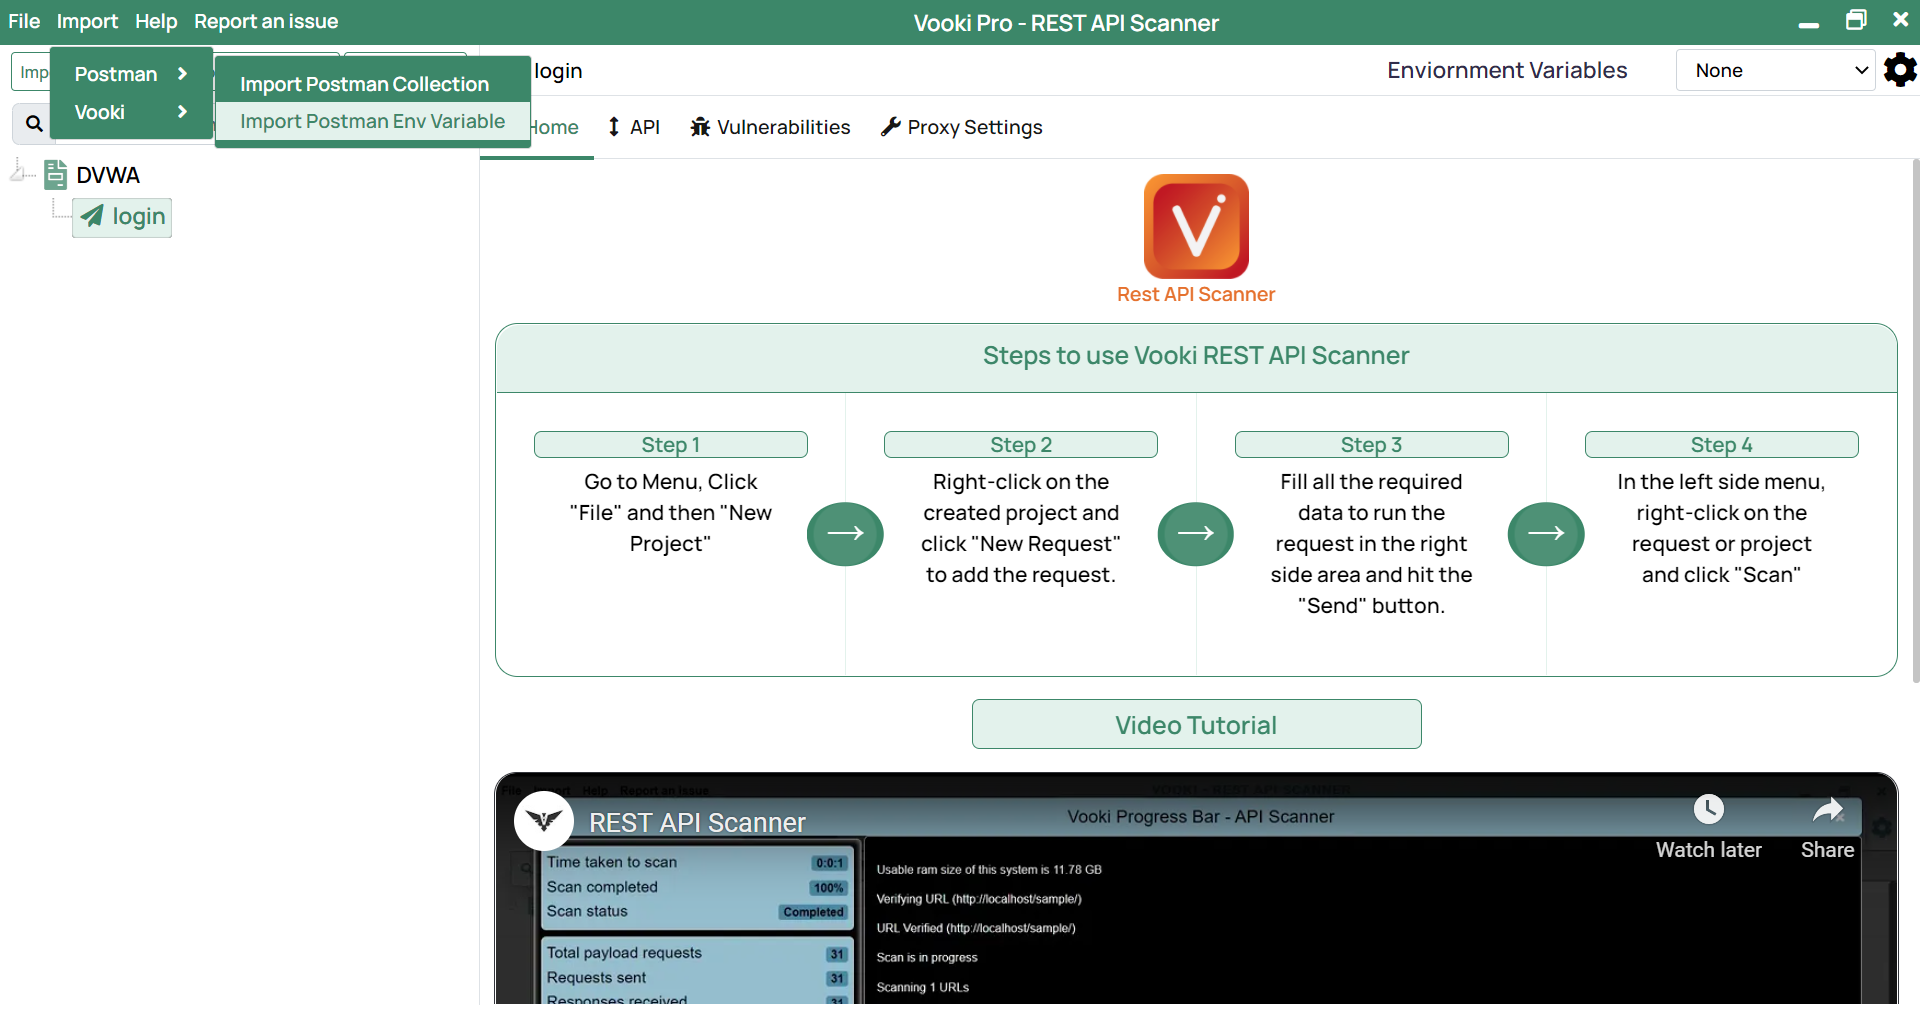
Import Postman Collection
To import the Postman collection, follow these steps:
- Go to the main menu and select "Import," then "Postman", and finally "Import Collection".
- Select the desired Postman collection file, and you are ready to use the collection data in the Vooki app.
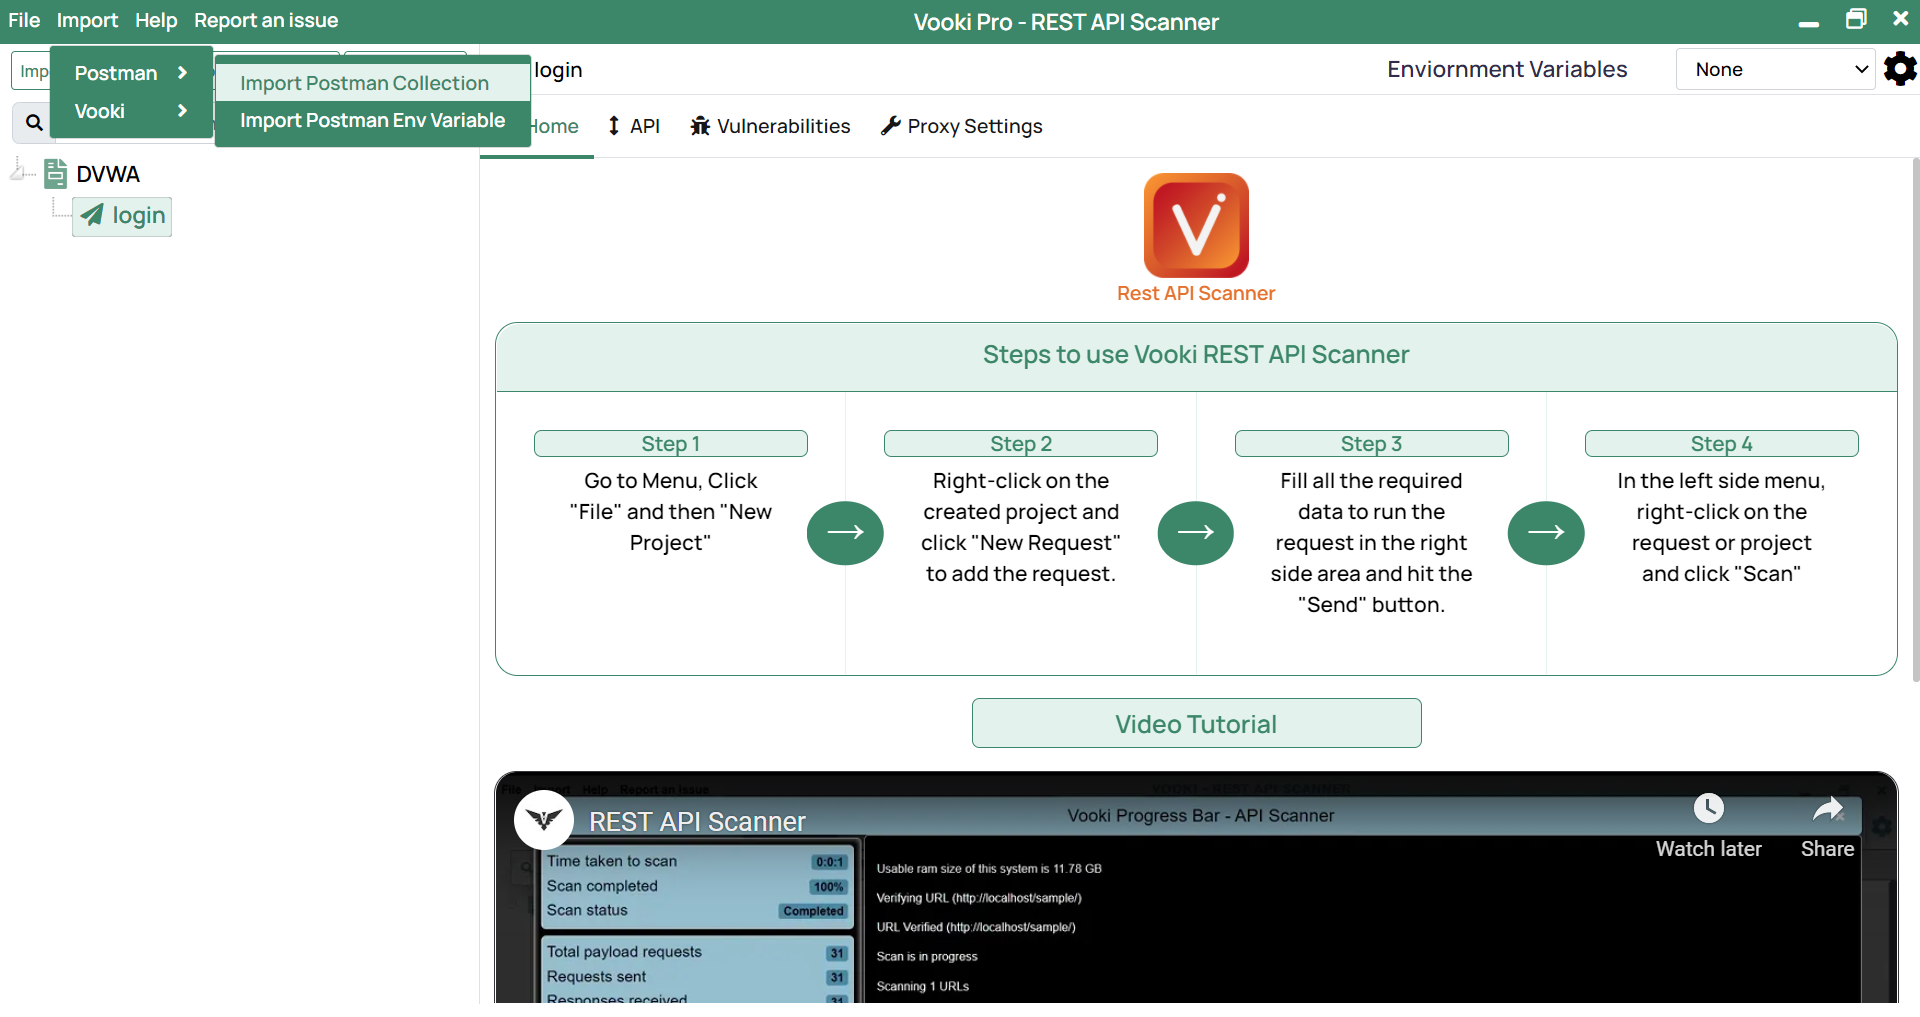
Import Postman Environment Variable
To import the Postman Environment Variable to the Vooki, follow these steps:
- Go to the main menu and click on "Import" and choose "Postman" then select "Import Environment Variable".
- Select the desired Postman environment variable file, and you are ready to use it in the Vooki app.
How to Make Use of an Environment Variable
- In the top right corner of the application, we have provided the facility of an environment variable, which is very helpful in setting any global variable value and using it throughout the project.
- To add the new environment variable, click on the setting button on the top right corner of the application and add a new environment variable with its name and value.
- Now to make use of it in the project, you have to include the variable with double curly braces as {{session_token}} where session_token is the name of the key in the environment variable name.
- Now if we include this anywhere, it will replace the value given during the runtime of the scan.
Related Articles
What is Vooki ?
Vooki is a dynamic web application vulnerability scanner tool that is used by the majority of the world's top companies. We have made this product in such a manner that it is easy to use for any user, from a newbie to a pro. Vooki uses the OWASP Top ...How to use Vooki - REST API Scanner ?
Vooki's REST API scanner is a tool to scan and detect vulnerabilities in the REST API at ease. We have multiple facilities and features in the Vooki REST API scanner. We will discuss all of this in detail. Add Project Add Request Scanning Report ...Vooki Vulnerability Report Generation
Vulnerability generating report is very important for any developers for better development of their site security. Generating a clear vulnerability report helps us to find the statistics, loopholes stuffs of the vulnerabilities in an organization ...Why Vooki is best Vulnerability scanner?
Vooki is a free web application vulnerability scanner which gives us a perfect scan report about the scanned networks, applications. It is a user-friendly tool that you can easily scan any web application and find security vulnerabilities. Vooki ...Why Some HTTPS sites are not loading completely while using vooki?
While using the Vooki vulnerability scanner we might have faced the issue where the https page is not loaded completely. The reason behind this issue is the HSTS (HTTP Strict Transport Security) header. After including this in website it becomes ...